The Best Fluffy Pancakes recipe you will fall in love with. Full of tips and tricks to help you make the best pancakes.

Please follow and like us:
When I want to impress guests—or just treat myself to something rich and creamy—this simple cheese flan is my go-to dessert. It’s a smooth, velvety custard topped with luscious golden caramel. Best of all? You don’t need fancy ingredients to make it, just a bit of love and the right technique. Here’s how I make my favorite cheese flan from scratch.
Ingredients You’ll Need
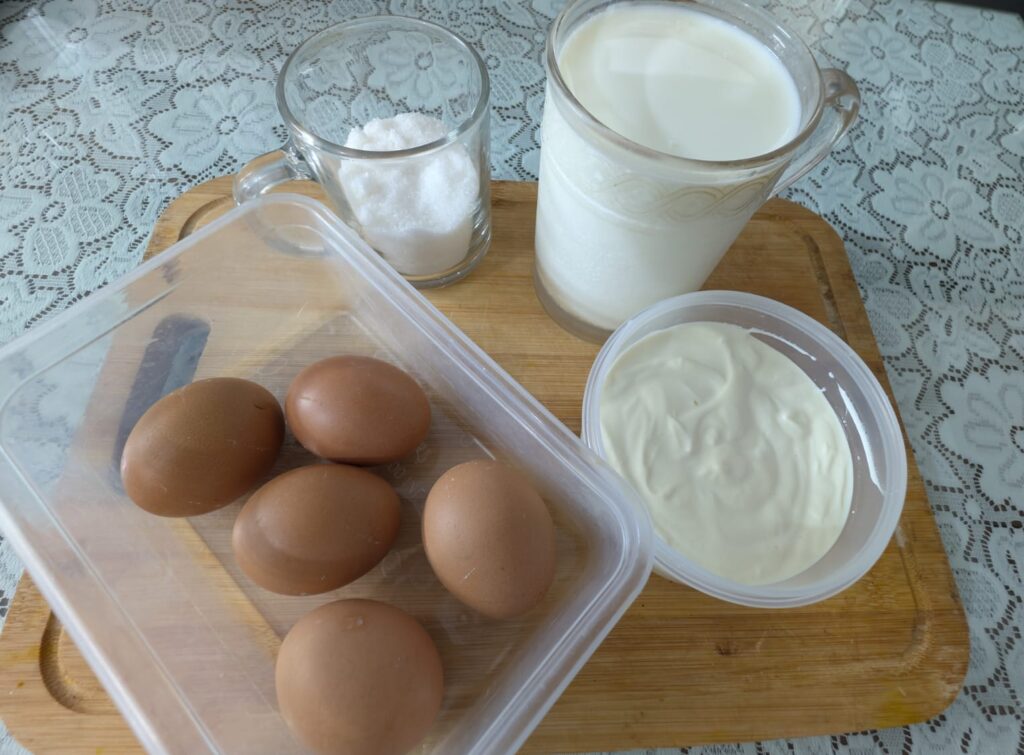
To prepare this deliciously creamy cheese flan, gather the following:
- 500 ml boiled milk
- 5 eggs (at room temperature)
- 1 cup sugar (divided: ½ cup for the flan mixture and ½ cup for caramel)
- 1 teaspoon pure vanilla extract (optional – I usually skip it)
- 1 package cream cheese, softened (I used homemade cream cheese)
Required Kitchen Tools
Before starting, I always make sure I have the right tools on hand. They make a huge difference in both the prep time and the final result.
- Hand or Stand Mixer – Helps me mix the cream cheese and eggs into a smooth, airy batter.
- Kitchen Thermometer – Boiling milk can be tricky. I use a thermometer to avoid overheating it.
- Mold – Any oven-safe mold or flanera will work perfectly. I usually use a round aluminum one.
Pro tip: Having these tools prepped and ready makes the flan-making process smoother and more enjoyable.
Milk Preparation
One of the secrets to a perfectly creamy cheese flan is preparing the milk mixture just right.
Mixing the Ingredients
First, I pour the boiled milk into a medium saucepan and add ½ cup of sugar. I stir it over medium heat until the sugar is fully dissolved and the milk mixture slightly reduces—down to about 350 ml. This concentrates the flavor and gives the flan its signature richness.
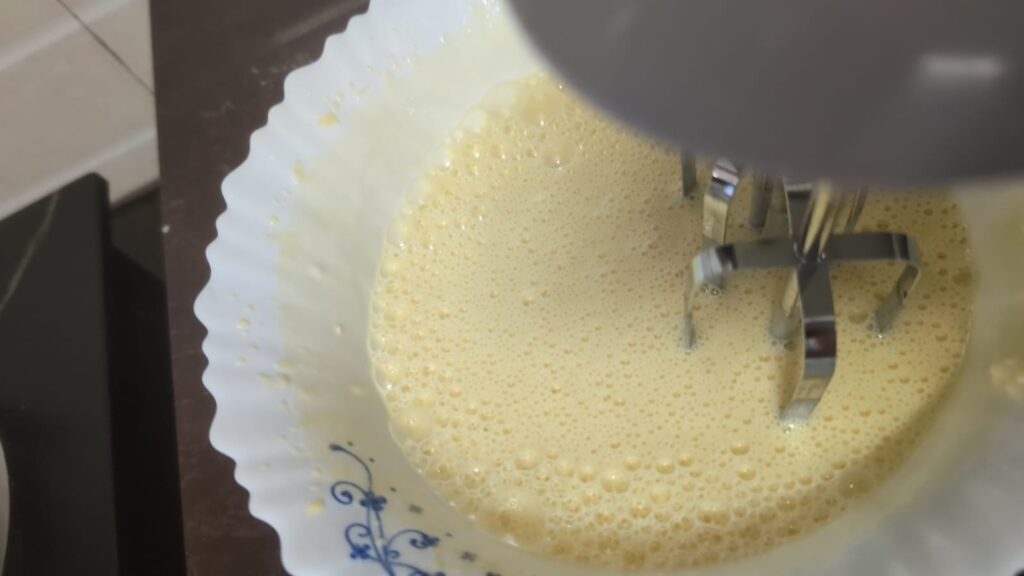
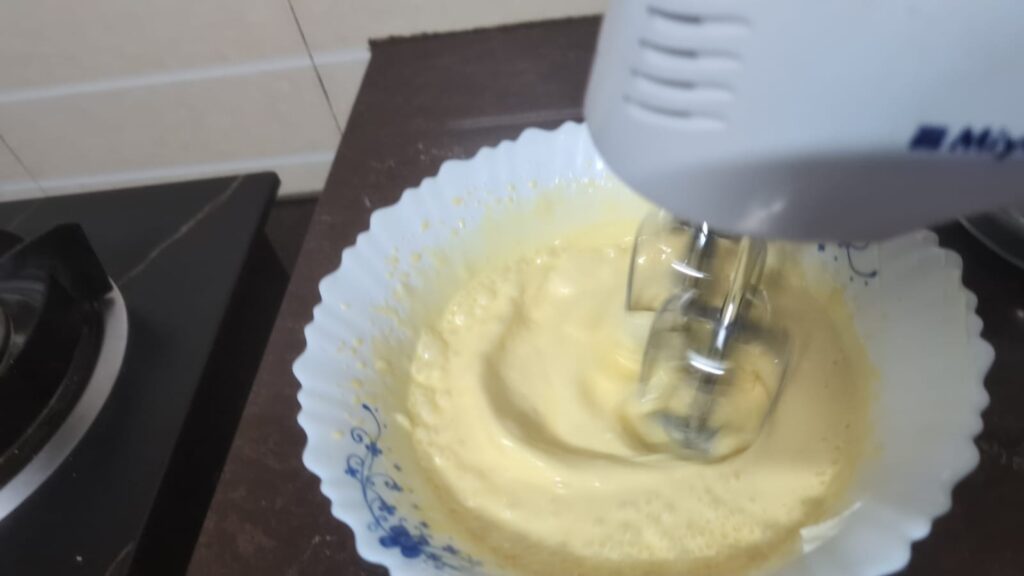
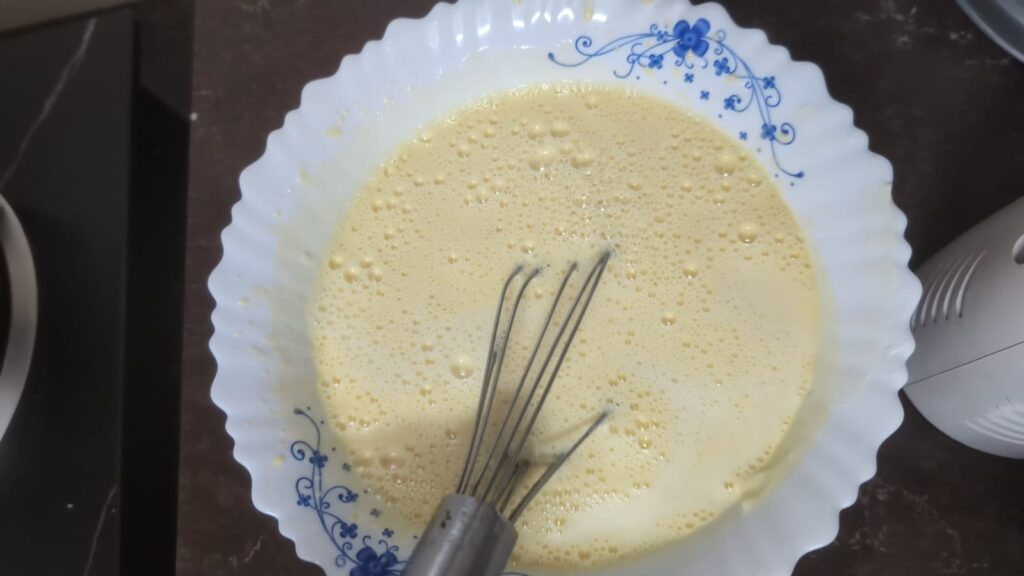
In another bowl, I take my softened cream cheese and begin beating it gently using a hand mixer. Then I add the eggs one by one, continuing to beat until the texture becomes silky and smooth.
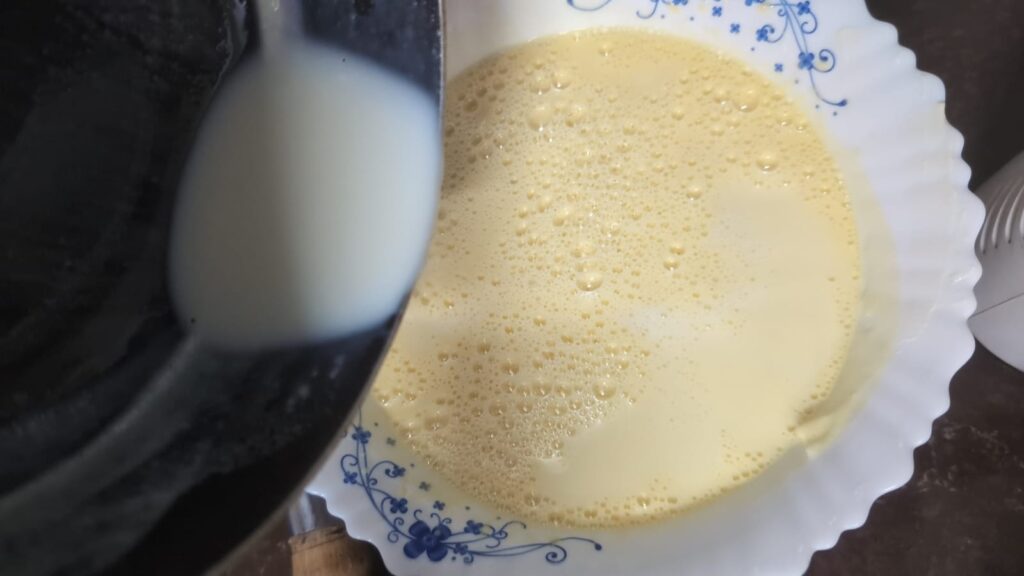
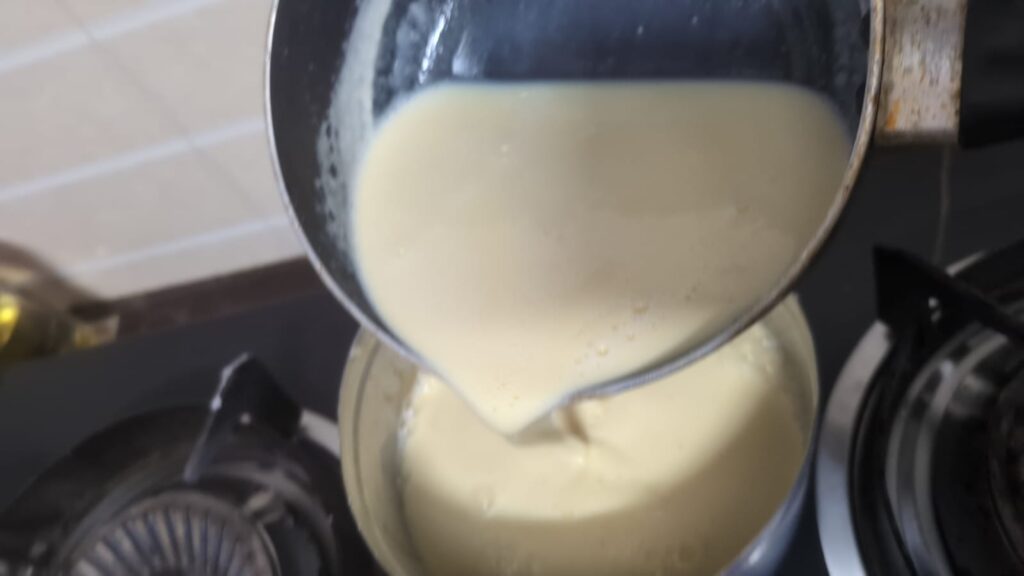
Once the milk mixture has cooled down to lukewarm (this part is crucial—too hot, and you’ll cook the eggs), I slowly add it into the cream cheese and egg mixture. A final quick mix, and the flan base is ready to go.
Making Perfect Caramel for the Cheese Flan
This step is where the magic begins. That deep golden caramel layer is what makes the flan so irresistible—and making it at home is easier than it seems.
Caramelizing the Sugar
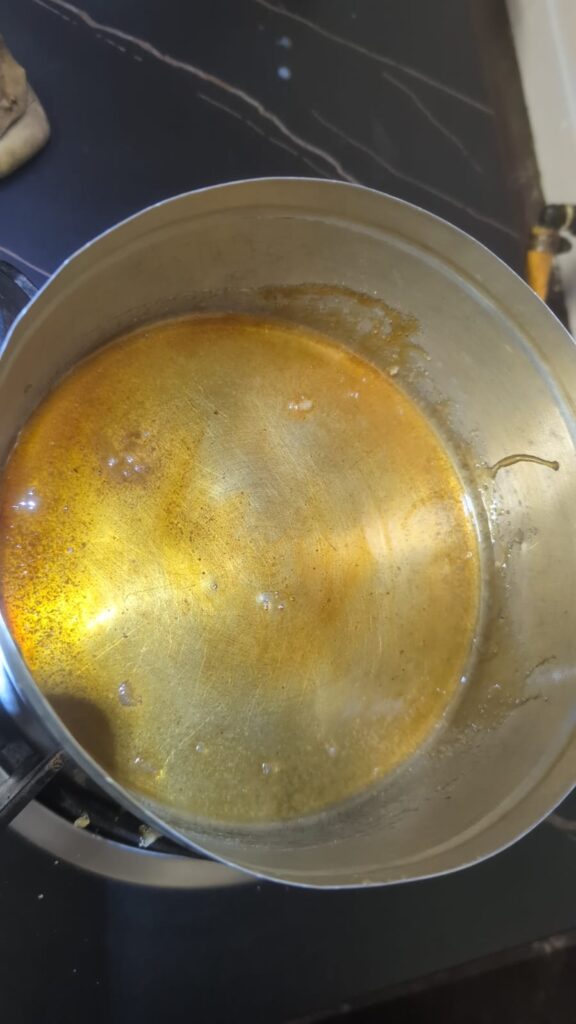
I take ½ cup of sugar and pour it directly into a small nonstick pan. You can also do this directly in your mold if it’s stove-safe. Then, I place the pan over low heat and let the sugar slowly melt.
It takes patience—don’t rush it by turning the heat too high. As the sugar begins to melt, I gently swirl the pan (without stirring) to help it melt evenly. Within minutes, it turns into a rich amber caramel.
As soon as the caramel reaches that beautiful golden color (not too dark, or it’ll taste bitter), I immediately remove it from the heat. Be very careful at this stage—it’s extremely hot.
Pouring and Setting the Caramel
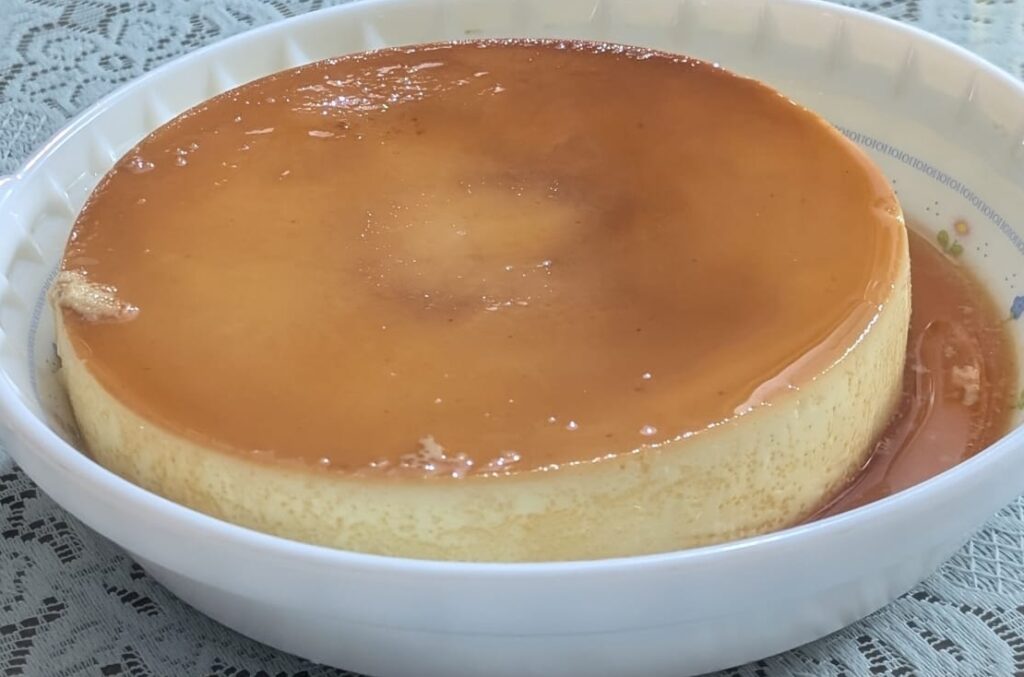
Quickly, I pour the hot caramel into the base of my mold, swirling it around so it coats the bottom evenly. It hardens fast, so I work swiftly. Once the caramel layer is evenly spread, I set the mold aside and let it cool completely.
Letting the caramel fully set ensures that the flan mixture doesn’t disturb it when poured in later. It also guarantees that signature caramel glaze when unmolding the flan after baking.
Final Step: Baking the Cheese Flan to Perfection
Once my caramel is set and the flan mixture is smooth and creamy, it’s time to bake. This step is crucial for getting that silky, custard-like texture that makes cheese flan so satisfying.
Preparing the Water Bath (Bain-Marie)

To start, I preheat my oven to 180°C (about 350°F). I always do this before placing the mold inside to ensure an even bake from the start.
Next, I pour the flan mixture gently into the caramel-coated mold. Then, I place the mold into a larger oven-safe baking dish or tray. This creates the water bath that helps the flan bake evenly and gently.
I fill the outer tray with warm water, making sure it reaches about halfway up the side of the flan mold. You don’t want the water to get inside the flan, so I’m always careful not to overfill.
Tip: Always use warm (not hot) water. Sudden temperature changes can crack the custard.
Baking Time
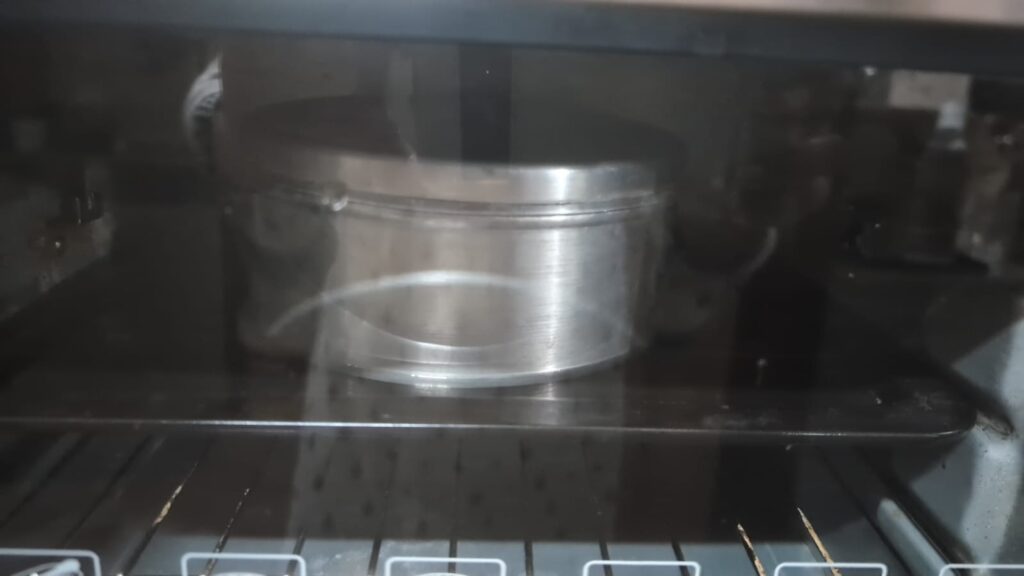
I place the entire setup into the preheated oven and bake for 35 minutes. Depending on your oven and the depth of your mold, it might take a bit more or less time. You’ll know it’s done when the center is just set but still slightly jiggly.
To check, I gently tap the side of the mold or insert a thin knife—it should come out mostly clean, with just a hint of moisture.
After baking, I remove the mold from the water bath and let it cool at room temperature. Then I refrigerate it for at least 4 hours, but ideally overnight. Chilling helps it firm up and develop its rich flavor.
Serving and Decoration
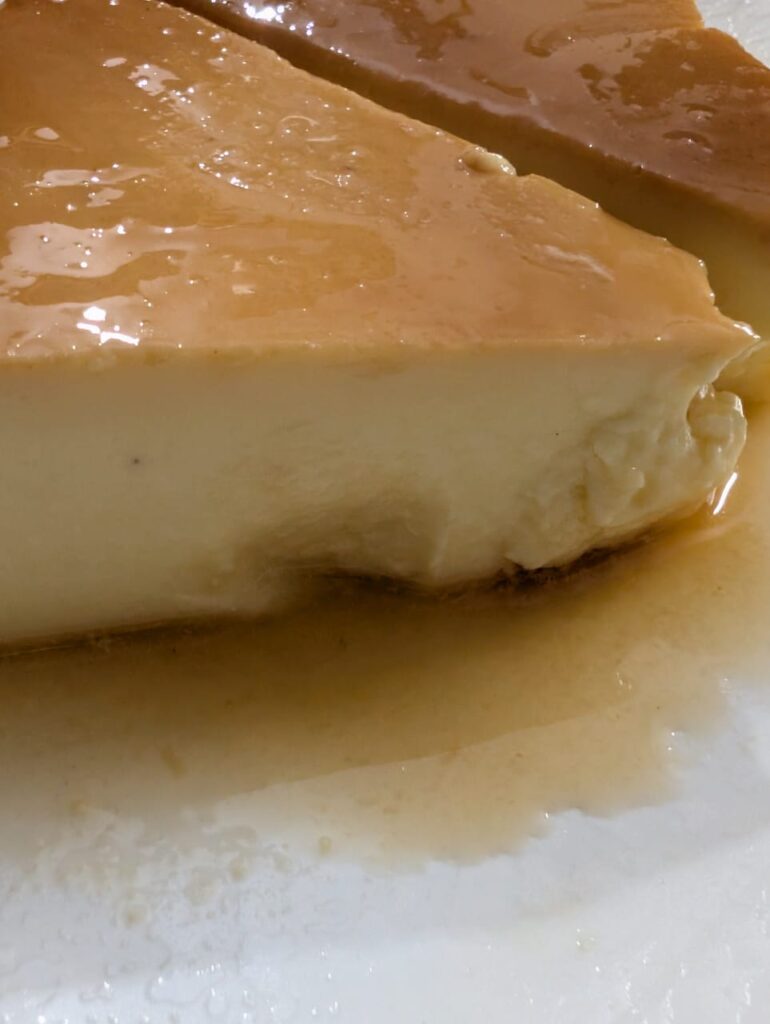
After chilling overnight, unmolding the flan is my favorite part—it’s when you see that gorgeous caramel cascade over the sides. Here’s how I serve and elevate it:
Unmolding the Flan
To unmold, I run a thin knife around the edges of the mold to loosen the flan gently. Then I place a serving plate on top and quickly flip it. A little shake, and the flan slides out beautifully, covered in shiny caramel sauce.
Suggested Toppings and Coatings
While this cheese flan is delicious on its own, I sometimes add toppings for a bit of flair:
- Fresh berries like strawberries, raspberries, or blueberries for color and freshness
- Toasted coconut flakes for crunch and a tropical touch
- A dollop of whipped cream on the side
- Mint leaves for a pop of green
- Powdered cinnamon or a light caramel drizzle for added flavor
Tip: Serve chilled for the creamiest bite and the most satisfying flavor contrast with the caramel.
Storage Instructions
How to Keep It Fresh
If there are leftovers (rare in my house!), I store the flan in an airtight container in the fridge. It stays fresh and delicious for up to 4 days. Just make sure to keep it chilled and covered so it doesn’t absorb fridge odors.
Freezing
Flan isn’t ideal for freezing as it can lose its creamy texture when thawed. However, if I must, I slice it into portions and wrap each piece tightly in plastic wrap, then foil. It can be frozen for up to 1 month. To serve, I thaw it slowly in the fridge overnight.
Want a lighter version? Don’t miss my easy Flan Recipe Without Condensed Milk—made with just 4 simple ingredients!

Simple Cheese Flan Recipe: Creamy, Caramelly, and Easy!
Course: Sweet TreatsDifficulty: EasyServings
8
servingsPrep time
15
minutesCooking time
35
minutesCalories
310 kcal
kcalIngredients
500 ml boiled milk
5 eggs (room temperature)
1 cup sugar (½ for flan, ½ for caramel)
1 teaspoon pure vanilla extract (optional)
1 package cream cheese, softened
Directions
- Prepare the Milk Mixture
Boil 500 ml milk and stir in ½ cup sugar. Simmer and reduce the liquid to about 350 ml. Allow to cool to lukewarm. - Beat Cream Cheese and Eggs
In a bowl, beat softened cream cheese. Add eggs one at a time, mixing until smooth and creamy. - Combine Mixtures
Slowly add the lukewarm milk mixture into the cheese-egg blend. Mix well to form a smooth batter. - Make the Caramel
In a pan (or directly in the mold if heat-safe), heat ½ cup sugar over low heat until it melts into a golden caramel. Pour and spread it evenly in the base of your mold. Let it cool and harden. - Pour & Prepare for Baking
Pour the flan mixture into the mold over the caramel layer. Place this mold into a larger ovenproof tray. - Create a Water Bath
Fill the outer tray with warm water—just enough to come halfway up the sides of the flan mold. - Bake the Flan
Preheat the oven to 180°C (350°F). Bake for 35 minutes or until the center is just set. - Cool & Chill
Let the flan cool at room temperature, then refrigerate for at least 4 hours (preferably overnight). - Serve & Enjoy
To unmold, run a thin knife along the edge of the mold. Flip it onto a serving plate and let the caramel sauce pour over the flan. Serve chilled.
Notes
- Chef’s Tip:
For the creamiest texture, always let the milk mixture cool to lukewarm before mixing it with the eggs—this prevents curdling. And don’t skip the water bath; it ensures even, gentle baking every time.
Craving something traditional? Try my Rice Kheer (Bengali Payesh) Recipe—a creamy, comforting dessert perfect for any festive occasion!
Conclusion
This simple cheese flan recipe has been a crowd-pleaser in my kitchen for years. It’s creamy, smooth, and delightfully sweet with just the right touch of tang from the cream cheese. With a few pantry staples and a little patience, you can create a stunning dessert that’s perfect for any occasion—whether it’s a family dinner, a celebration, or just because.
So go ahead, give it a try! Once you taste it, I promise you’ll come back to this recipe again and again.
Please follow and like us:


